
If you're using WooCommerce to sell event tickets, scavenger hunts, or interactive games, PlayTours now offers a seamless integration to automate access delivery. With a simple one-time configuration, you can automatically deliver game access links to customers the moment they complete a purchase.
Today, we’ll walk you through every step of integrating WooCommerce with PlayTours, so you can start selling and scaling your interactive experiences right from your WordPress site.
- Sell access to scavenger hunts or interactive games directly from your WordPress site
- Automate access delivery, and customers receive a game link instantly after purchase
- No additional fees from PlayTours for using WooCommerce
- Works with existing WooCommerce features like coupons, discounts, or email marketing tools.
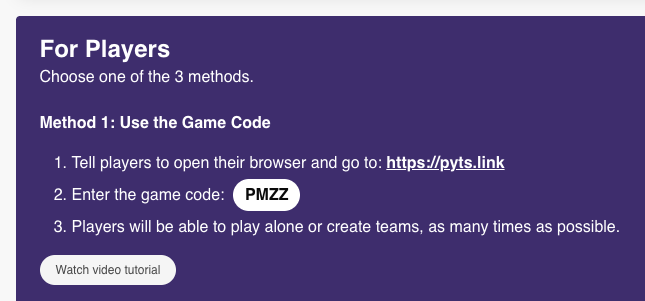
First, log in to your PlayTours dashboard at admin.playtours.app.
- Log in to admin.playtours.app.
- Create your game, then create a session for it.
- Click “Manage” on the session to find your Game Code.
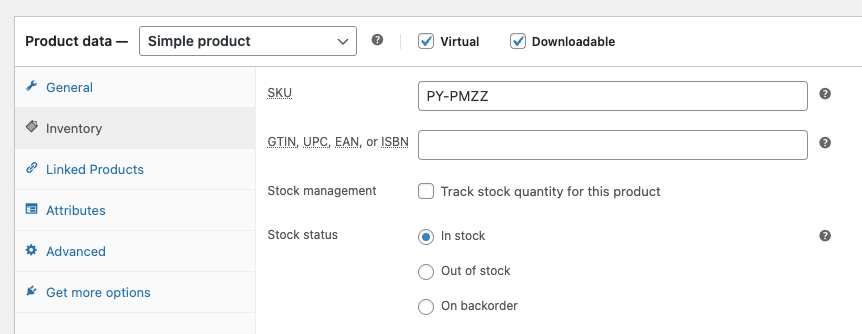
- Example: PMZZ
You’ll use this Game Code to link purchases with access later.
You can include additional text before or after the code, such as:
Set the following values:
Save the webhook.

This allows PlayTours to receive order data and match it to your game.

1. Go back to the session screen (where you found the game code in Step 1).
2. Click “Configure”.
3. Customize the email message that will be sent to customers.
4. Make sure you include the placeholder {{ team_link }}.
This generates a unique game access link for each team.
Go back to the session screen (where you found the game code in Step 1).
Click “Configure”.
Customize the email message that will be sent to customers.
Make sure you include the placeholder {{ team_link }}.
This generates a unique game access link for each team.
Once everything is set up:
- A customer buys the game through your WooCommerce store
- PlayTours automatically detects the order using the webhook
- The customer receives a personalized access email within seconds
No manual approvals. No back-and-forth emails. Just seamless access delivery.
If you have any questions or run into issues while setting up the integration, our team is here to assist. Contact us at: hello@playtours.app
Looking to explore other integrations or advanced use cases? Stay tuned to the PlayTours blog for more tutorials, tips, and best practices.
Email us at hello@playtours.app